Key Takeaways
- Texting has become more popular than calling, thanks to its accessibility and convenience provided by features like touchscreen keyboards and predictive typing algorithms.
- Precision in typing can be a challenge, especially when it comes to placing the cursor accurately. Gboard offers a solution to this frustration by allowing users to move the cursor using swipes on the spacebar.
- Gboard offers a range of customizable options in its settings, including language preferences, keyboard themes, autocorrect settings, and cursor control. Exploring these settings can greatly enhance the typing experience.
With all the time that most of us spend on various social media apps on our phones, messaging friends, writing posts and checking out the newest trends, it’s no surprise that texting has mostly replaced calling. It’s so much more accessible, convenient and less demanding, so choosing to text someone at a convenient time for you, without the need for a whole conversation, is almost a no-brainer.
However, if you look back even a few years, such a reliance on texting wouldn’t be possible back then – just imagine writing a quick response on WhatsApp using the good old T9 keyboard. Modern conveniences, such as a touchscreen keyboard, quick autocorrect and invisible predictive typing algorithms are all responsible for the meteoric rise of the popularity of texting.
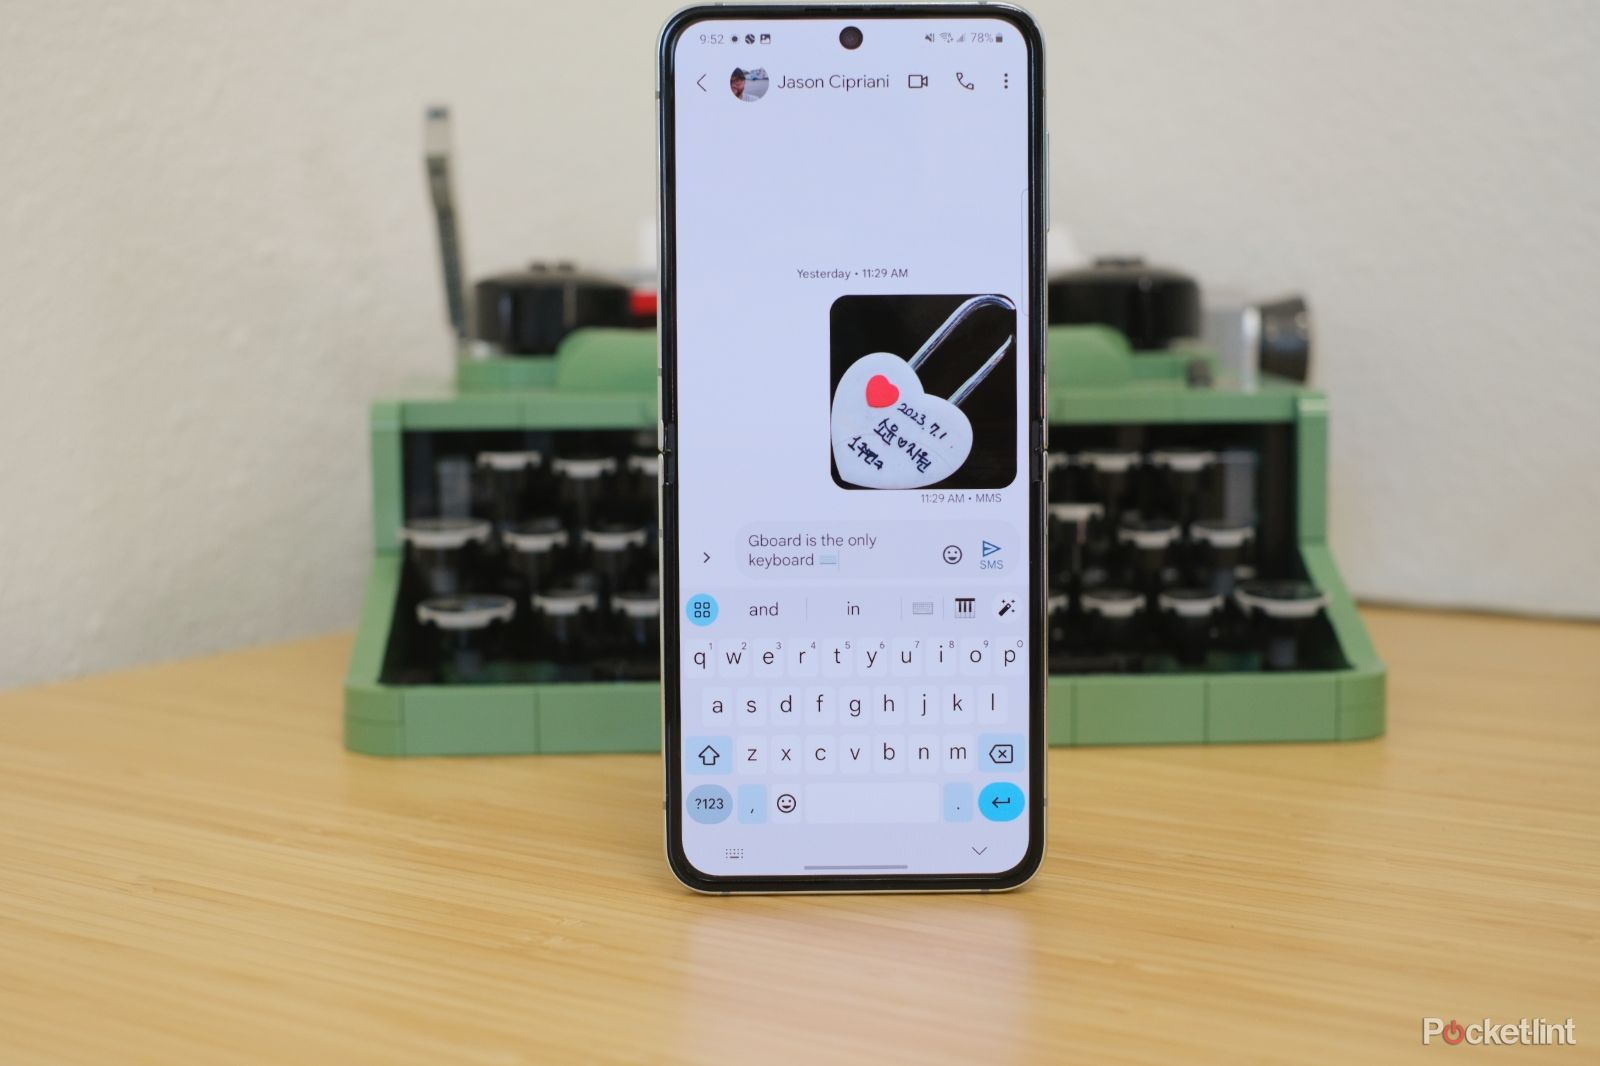
All of these cool and helpful features are also included in Android’s most popular keyboard – the Gboard. Google’s keyboard is a powerful typing tool that combines all this predictive power with a slew of other features and makes for a much more pleasurable experience when using your touchscreen for texting.
Why do you need a cursor in Gboard?
However, even all these helpful tools sometimes fail, and you make a typo when texting. Unfortunately, that’s the part where many touch keyboards show their weakness, as precision is absolutely not their strong suit. If you’ve never got frustrated while trying to precisely place your cursor in-text, trying to do so a dozen times and failing each time – you’re probably in the minority. Unfortunately, as our fingers are much bigger than a thin line of the cursor, it’s quite difficult for a touch keyboard, even with all that predictive logic behind it, to pinpoint where exactly you want the cursor to be placed.

WhatsApp begins rolling out a hot new group chat admin feature
WhatsApp is rolling out a change that allows group chat admins to control who is allowed in.
This is especially problematic if you’re trying to squeeze it between narrow letters such as “i” or “l”. If you want to be really precise in your typing, you’re sure to encounter this problem sooner or later, and most people avoid the frustration by simply deleting the whole word and typing it over again. The problem is that it is not only much less frustrating but also quicker, as trying to click in exactly the correct spot might take a few tries, making just deleting the whole thing that much quicker.
However, not many people know that you can move your cursor in another, much more convenient way when using Gboard, putting an end to your frustrations and making your typing experience both less annoying, and faster.
You really don’t have to move your cursor by blindly tapping on your screen. In the Gboard settings, you can enable another way of moving it, turning swipes on your spacebar into a convenient way to move the cursor and quickly fix all the typos.

How to change the keyboard on your Samsung Galaxy phone
Tired of your Samsung Galaxy phone’s default keyboard? It’s really easy to switch. Here’s how.
How to open Gboard settings
Not many people know that their Android keyboard is a highly customizable tool, with a lot of typing options and features at hand. However, you don’t always get all the goodies, as many users simply start typing when they get their phone, without feeling the need to change anything.
You might be surprised at how many cool, interesting options there are waiting for you buried in the Gboard settings. If there are some parts of the Android typing experience that annoy you, or you wish were different – it’s quite possible you can already change them by going into Gboard settings and tweaking them to your liking. So, if you want to check these out, here’s how to open the Gboard settings:
- Go to any app where you’ll be able to start typing.
- Click on any text box and open your Gboard.
- Tap and hold the comma button.
- When a pop-up menu appears, move your finger to the cog icon and release it.
- You’ll be taken to the Gboard setting menu.
Once there, you can see that there are various options to choose from – from changing your available languages, through various themes that you can apply to your keyboard, to different dictionaries and autocorrect settings. All of these will help you massively when customizing your typing experience.
How to enable gesture cursor control in Gboard
One of the options that’s extremely helpful when typing – especially longer paragraphs – is the ability to freely and efficiently control your cursor. This helps when you have to correct a typo or insert a missing word, and is extremely useful when editing text on your phone or tablet. Google’s Gboard allows you to move your cursor in multiple ways, but one that is especially useful sometimes has to be enabled in the Gboard settings – it’s called gesture cursor control.
Gesture cursor control is a feature that allows you to move the cursor over the text you’ve written by simply swiping on your space bar. By moving your finger left and right, your cursor does the same, so you get much more precise, granular control over the position of the cursor, making all the edits that much easier. Here’s how to turn that feature on:
- Open your Gboard by tapping on any textbox.
- Long-press on the comma.
- Move your finger to the cog icon and release to open Gboard settings.
- In the settings, tap on the Glide typing menu.
- Once there, make sure that the slider next to Enable gesture cursor control is set to ON (the dot has to be on the right).
- That’s all! Now you can control your cursor by simply swiping on your spacebar.
What other Gboard features should you try?
If that’s your first visit to the Gboard setting, you might be quite surprised by how much stuff there is, and how many settings you can customize. Here are some of the best ones that you should check out to make your typing experience even better:
- In the Preferences menu, you can turn on a permanent number row, as well as configure the haptic and sound feedback of keypresses.
- In the Theme menu, you can make Gboard look just the way you like, changing the keyboard colors or even adding some nicer backgrounds.
- In the Text correction menu, you can personalize your autocorrect, as well as turn on both spell-check and grammar-check.
- Glide typing menu lets you, aside from turning on the cursor control on your spacebar, customize glide typing – turn it on, enable the gesture trail, and set a gesture to delete your text.
There are many more options to check out, such as Voice typing controls or settings to personalize your Emoji and Stickers menu – you’ll surely find something of interest to you in the settings, and most of them really help you in your everyday typing.
Trending Products

Cooler Master MasterBox Q300L Micro-ATX Tower with Magnetic Design Dust Filter, Transparent Acrylic Side Panel, Adjustable I/O & Fully Ventilated Airflow, Black (MCB-Q300L-KANN-S00)

ASUS TUF Gaming GT301 ZAKU II Edition ATX mid-Tower Compact case with Tempered Glass Side Panel, Honeycomb Front Panel, 120mm Aura Addressable RGB Fan, Headphone Hanger,360mm Radiator, Gundam Edition

ASUS TUF Gaming GT501 Mid-Tower Computer Case for up to EATX Motherboards with USB 3.0 Front Panel Cases GT501/GRY/WITH Handle

be quiet! Pure Base 500DX ATX Mid Tower PC case | ARGB | 3 Pre-Installed Pure Wings 2 Fans | Tempered Glass Window | Black | BGW37

ASUS ROG Strix Helios GX601 White Edition RGB Mid-Tower Computer Case for ATX/EATX Motherboards with tempered glass, aluminum frame, GPU braces, 420mm radiator support and Aura Sync


